
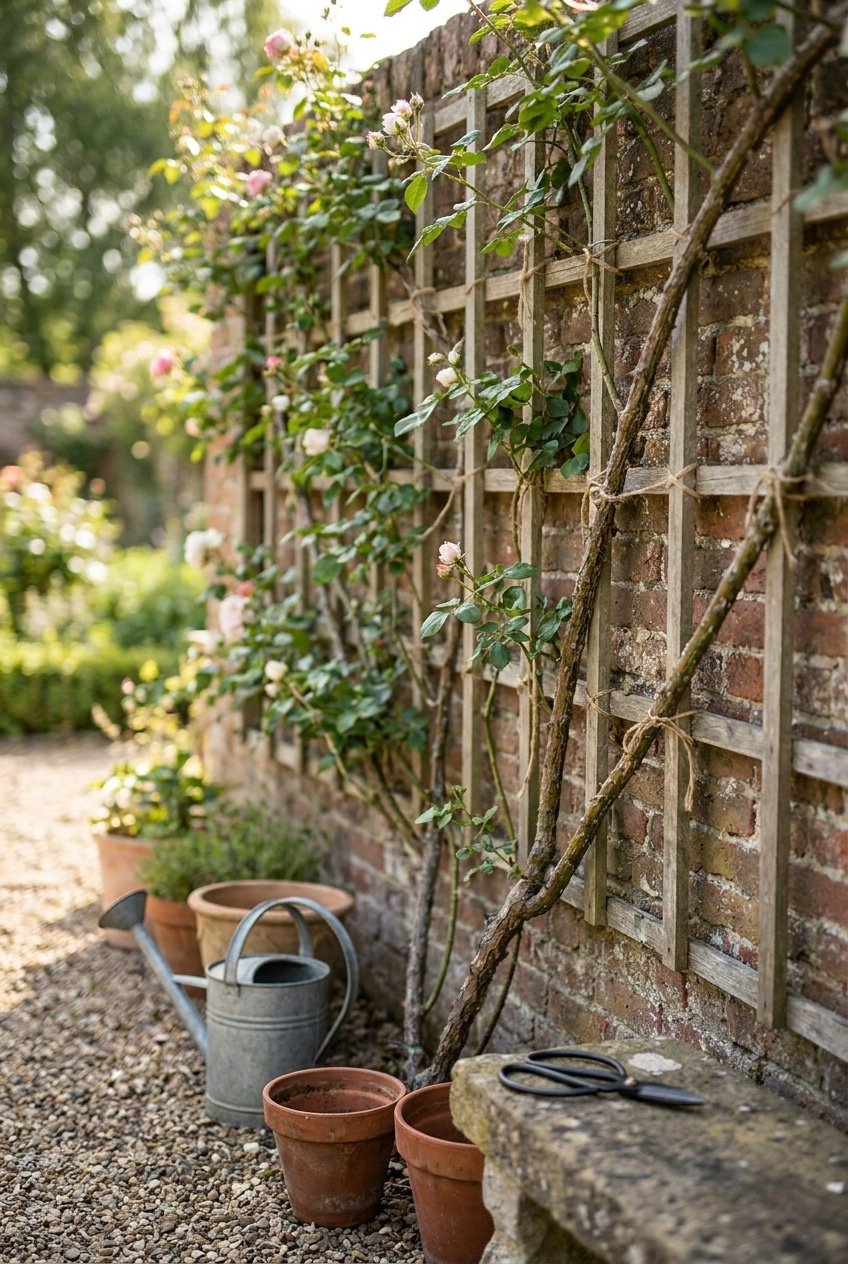
Imagine stepping outside to a garden wall completely draped in cascading blush-pink roses, their stems elegantly arching across a white trellis while the scent drifts through your morning coffee ritual — that is the dream, and it is absolutely achievable. Learning how to train climbing roses in your garden is one of the most rewarding things you can do for your outdoor space, transforming a flat fence or bare pergola into something that looks straight out of a romantic countryside estate. Whether you are a total beginner or someone who has been gardening for years but never quite cracked the code on climbing roses, this guide is going to walk you through everything you need to know — from picking the right support to timing your pruning perfectly. Get ready to fall completely in love with your garden all over again.
What Does It Mean to Train Climbing Roses in Your Garden?
Before we get into the how, let us talk about the what — because training climbing roses is not the same as just planting them and hoping for the best. When you train climbing roses in your garden, you are actively guiding their long, flexible stems (called canes) in a specific direction along a support structure like a trellis, wall, fence, or pergola. Roses are not natural climbers in the way that ivy or wisteria are — they do not self-cling, which means they need your help to grow where you want them to go.
The magic of training is that it does not just make your garden look incredible — it actually encourages the plant to produce more flowers. When canes are trained horizontally rather than left to grow straight up, the plant sends energy into producing lateral shoots along the whole length of the cane, and those lateral shoots are where the blooms appear. More horizontal training equals more flowers. It is honestly that simple and that satisfying.
Styling note: Think of your garden wall or fence as a blank canvas — training your roses is the brushstroke that turns it into a masterpiece.
Choosing the Right Support Structure for Climbing Roses
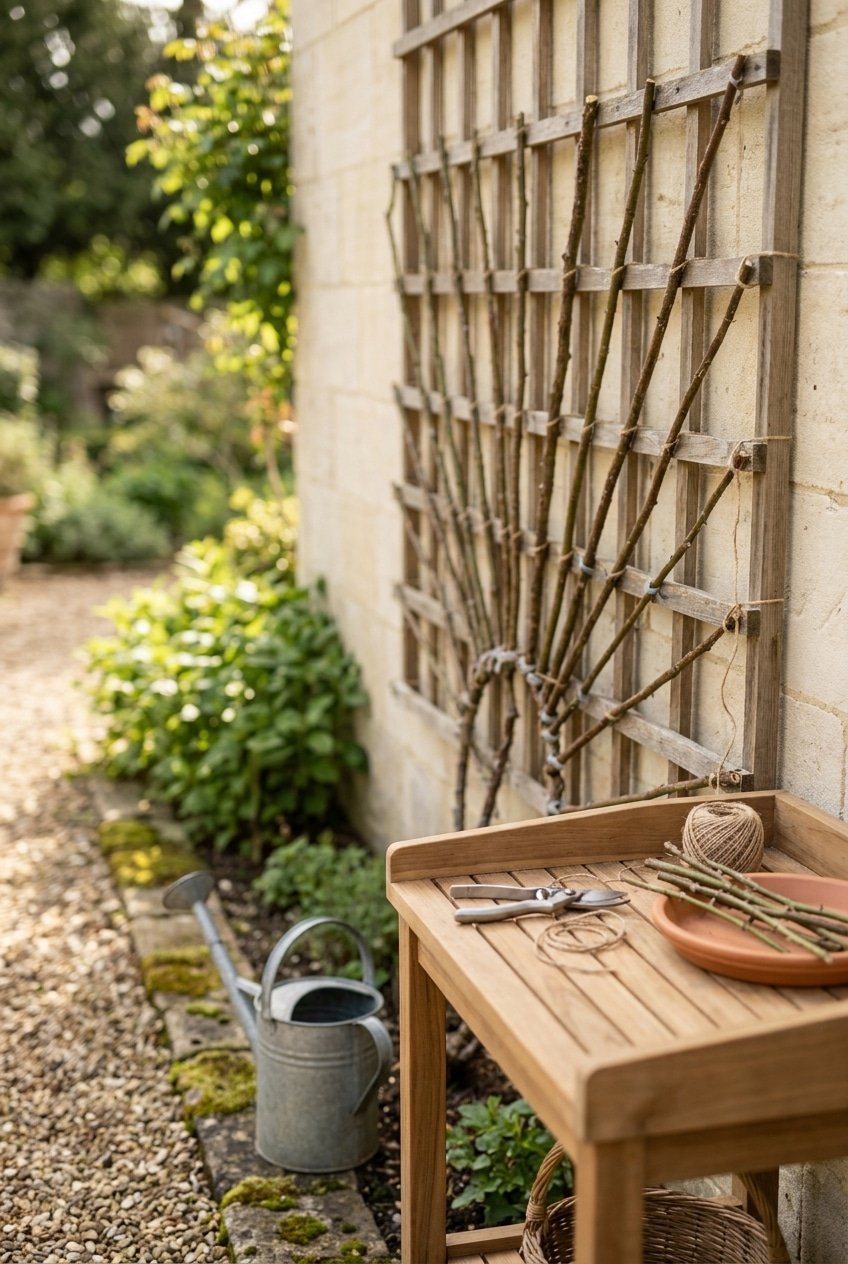
Choosing the right support is one of the most important decisions you will make when you start to train climbing roses in your garden, and it is worth spending a little time getting it right before you even buy your first plant. The support needs to be strong enough to hold mature canes that can become quite heavy, especially after rainfall, and it needs to be something that will last for years since climbing roses are long-term investments.
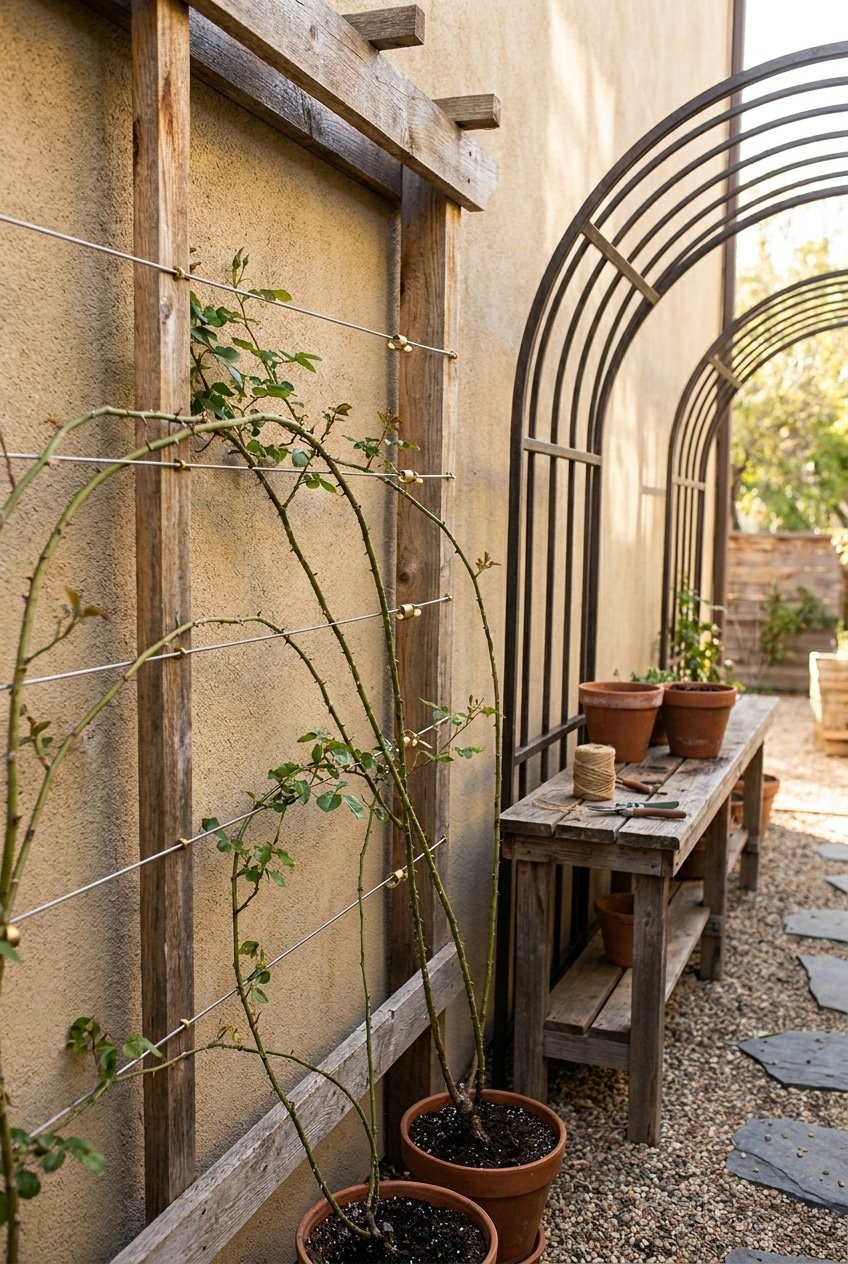
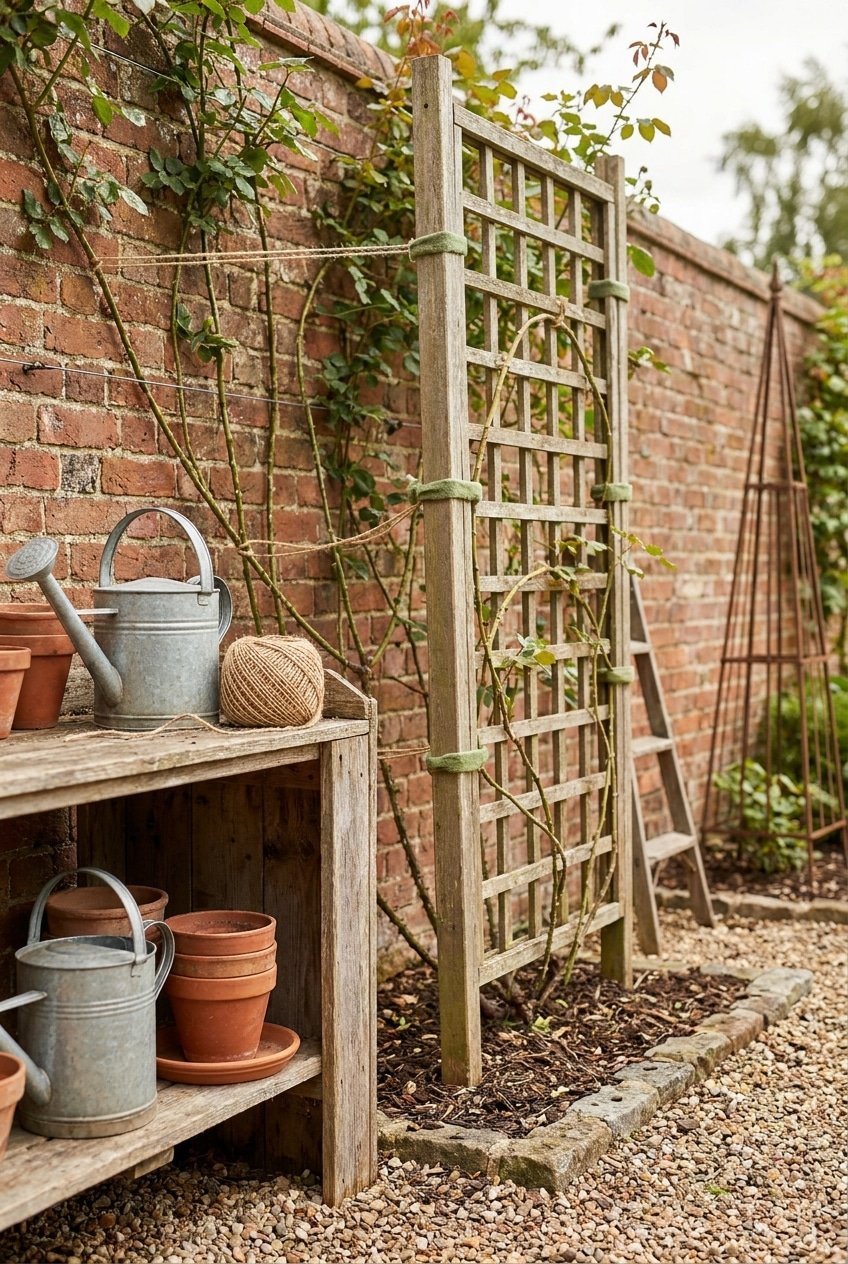
Trellises are a classic choice and they look absolutely gorgeous against a rendered wall or a timber fence. Make sure any wall-mounted trellis is fixed at least 10 centimetres away from the wall surface so air can circulate freely behind the plant — this helps prevent fungal diseases. Pergolas and arches are another stunning option, particularly if you want that romantic tunnel-of-roses effect that looks incredible in garden photography.
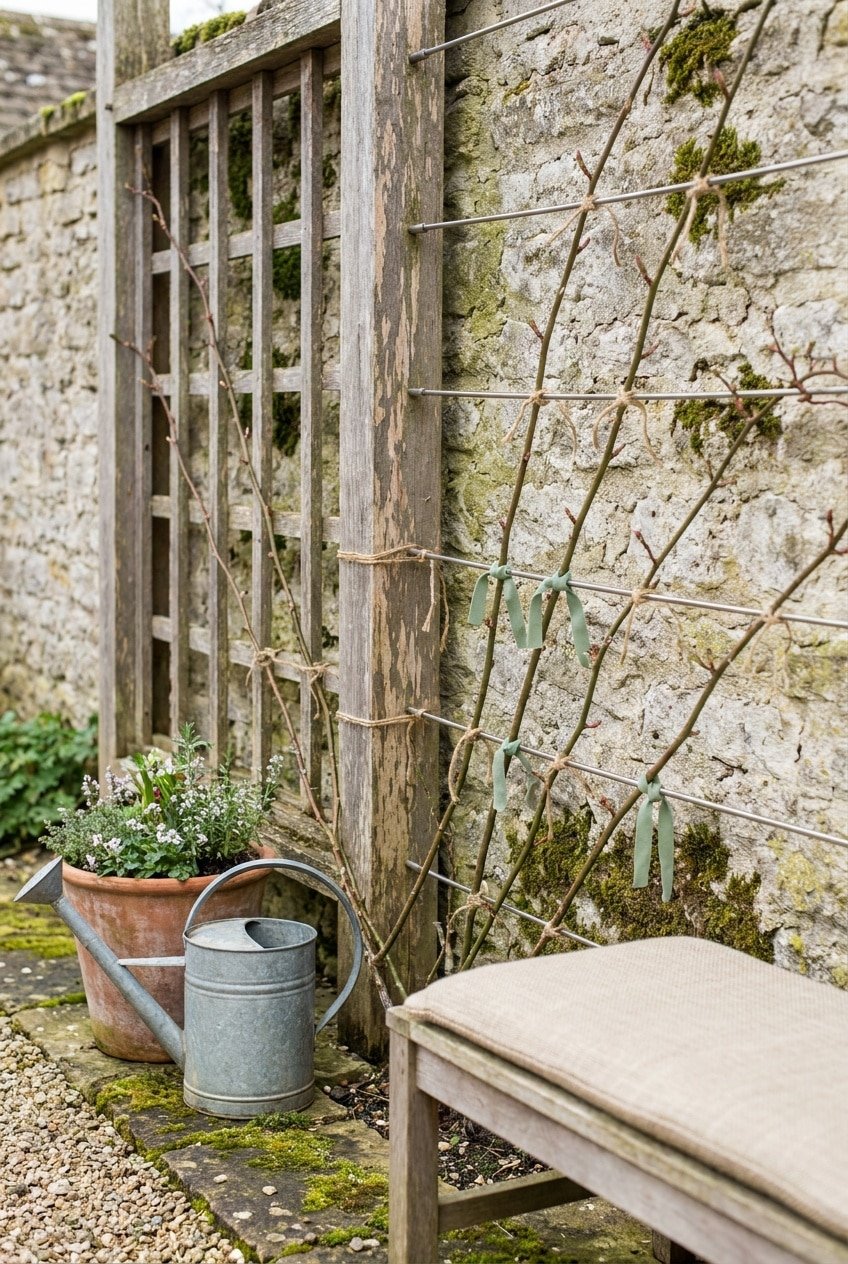
For a more relaxed, cottagey feel, horizontal wires tensioned between vine eyes fixed into a wall or fence are incredibly effective and give you lots of flexibility in how you direct the canes. Whatever you choose, make sure it is installed firmly and securely before you begin training, because adjusting it later when the roses are established is a real headache.
Styling note: Scale matters more outdoors than anywhere else — one oversized trellis will always outperform a cluster of small decorative ones when it comes to climbing roses.
How to Train Climbing Roses in Your Garden for Maximum Blooms
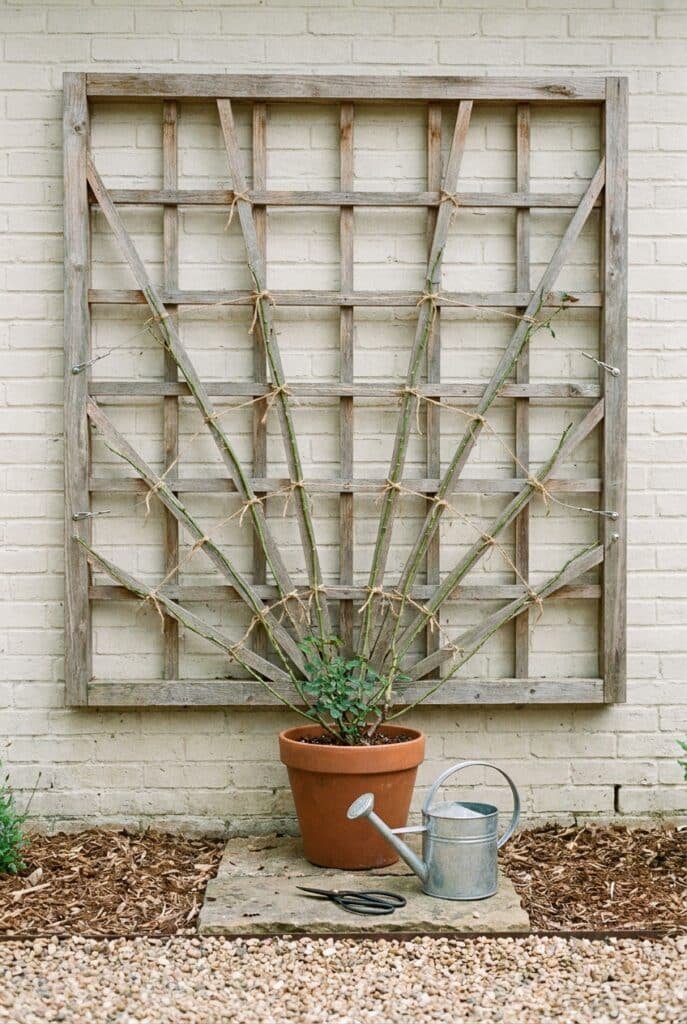
This is the section you have been waiting for — the actual how-to of training climbing roses in your garden for those jaw-dropping, flower-packed results. The key principle to remember is the horizontal cane rule: whenever possible, tie canes so they run horizontally or at a very gentle angle rather than straight upward. This gentle redirection triggers the plant’s natural response to produce flowering side shoots all along the cane, rather than just at the very tip.
Start with your youngest, most flexible canes and work with them early in the growing season when they are pliable and easy to bend without snapping. Use soft garden twine or special rose ties that have a little give in them — never wire or anything that will cut into the stem as it grows. Tie the cane to your support loosely in a figure-of-eight knot so there is room for the stem to thicken without being constricted.
As new canes develop throughout the season, keep training them outward and sideways rather than letting them shoot straight up into the air. Fan the canes out as widely as your support structure allows, filling in gaps as you go. Over time you will build up a beautiful, even framework of canes that covers your wall or structure and produces blooms from top to bottom rather than just at the top.
Timing Is Everything: When to Start Training

Timing plays a huge role in how successfully you train climbing roses in your garden, and getting it right can make the difference between a plant that thrives and one that struggles. The best time to do the major structural training and tying in of your climbing roses is late winter or very early spring, just as the plant is starting to wake up from dormancy but before it has put on a lot of new growth.
At this point the older canes are still flexible enough to manipulate without too much risk of snapping, and you can clearly see the framework of the plant without all the foliage getting in the way. You can also spot any dead, damaged, or crossing canes that need to be removed before new growth begins — which makes your structural decisions much cleaner and easier.
Throughout the growing season, keep an eye on new long shoots and tie them in as they develop rather than leaving them until they become rigid and difficult to redirect. Little and often is the approach that works best — spending ten minutes every couple of weeks during the growing season is far more effective than one big session once a year.
Styling note: Training your roses in early spring also means you get to enjoy the whole season watching your hard work pay off, which is honestly one of the most satisfying gardening experiences there is.
Pruning and Tying Techniques That Actually Work
Pruning and tying go hand in hand when you are learning how to train climbing roses in your garden, and having the right technique makes the whole process so much easier and more enjoyable. For tools, invest in a good pair of sharp bypass secateurs — blunt tools crush the stem rather than cutting cleanly, which can introduce disease. Thick gloves are non-negotiable unless you want scratched arms, and long-sleeved clothing is a very good idea.
When pruning, always cut at a 45-degree angle just above an outward-facing bud, slanting the cut away from the bud so water runs off rather than sitting on the cut surface. Remove any completely dead canes by cutting them right back to the base. Shorten the lateral side shoots — the ones coming off your main trained canes — to about two to four buds in late winter, as these are the shoots that will produce your flowers for the season.
For tying in, the figure-of-eight method is your best friend. Loop the twine around the support first, then cross it over and loop around the cane, finishing with a knot against the support rather than the plant. This keeps the cane protected from rubbing against the wire or trellis and prevents damage. Check your ties regularly through the season and loosen any that are beginning to look tight as the canes thicken.
How to Train Climbing Roses in Your Garden Through Each Season
One of the things that surprises a lot of people when they start to train climbing roses in your garden is that it is not a one-time job — it is a beautiful, ongoing relationship with your plant that evolves through the year. Each season brings different tasks and different rewards, and once you get into the rhythm of it, it genuinely becomes one of the highlights of your gardening calendar.
In spring, your job is to tie in those fresh new shoots as they appear, directing them into any gaps in your framework and fanning them out as widely as possible. This is also when you will see the first flower buds forming on your lateral shoots, which is honestly one of the most exciting moments in the garden. In summer, deadhead regularly on repeat-flowering varieties to keep the blooms coming — simply snap or snip off the spent flower heads just above the next set of healthy leaves.
Autumn is a good time to do a light tidy and check all your ties are secure before winter winds arrive. In many climates you do not need to do major pruning in autumn — save that for late winter. Winter is the quietest time, but it is worth checking that no canes have come loose from their supports during storms, and securing anything that has shifted before spring growth begins again.
Tip: Treating your climbing roses as a year-round project rather than a one-off task is what separates a good rose display from a truly breathtaking one.
Common Mistakes to Avoid When Training Climbing Roses

Even the most enthusiastic gardeners make a few missteps when they first start to train climbing roses in your garden, and knowing what to watch out for will save you a lot of frustration and help your roses thrive from the very beginning. The most common mistake is letting new canes grow straight upward without tying them in — it seems harmless at first but you very quickly end up with a plant that is all top and no middle, with a bare framework at the bottom and a tangle of growth at the top.
Another big one is tying canes too tightly. It feels counterintuitive because you want them to stay in place, but if you tie so tightly that the twine digs into the stem, you will restrict the flow of nutrients and water through the plant. Always leave a little room and check ties every few weeks during the growing season.
Pruning at the wrong time is another common issue — cutting back hard in autumn can stimulate tender new growth that gets damaged by frost, so resist the urge to do a big autumn cut and save it for late winter instead. Finally, do not be afraid to remove old, unproductive canes entirely from the base every few years to keep your climbing rose vigorous and floriferous. Renovation pruning can feel drastic but it genuinely reinvigorates the plant and rewards you with much better flowering the following season.
Now you have everything you need to create the kind of garden that makes people stop and stare from the street — the kind with roses spilling over a pergola or cascading across a sun-warmed wall in the most effortlessly beautiful way. Learning how to train climbing roses in your garden is genuinely one of those skills that keeps giving back year after year, and the more time and care you put in, the more spectacular the results become. Do not be put off if your first season feels a little trial-and-error — every single gardener has been there, and the roses will reward your patience in the most glorious way. If this guide has inspired you to finally tackle that bare fence or empty arch in your garden, save this post to your Pinterest garden board right now so you always have it to hand, and share it with a friend who has been dreaming of their own rose-covered garden — because every outdoor space deserves this kind of magic.